How to Install Git: A Simple Step-by-Step Guide
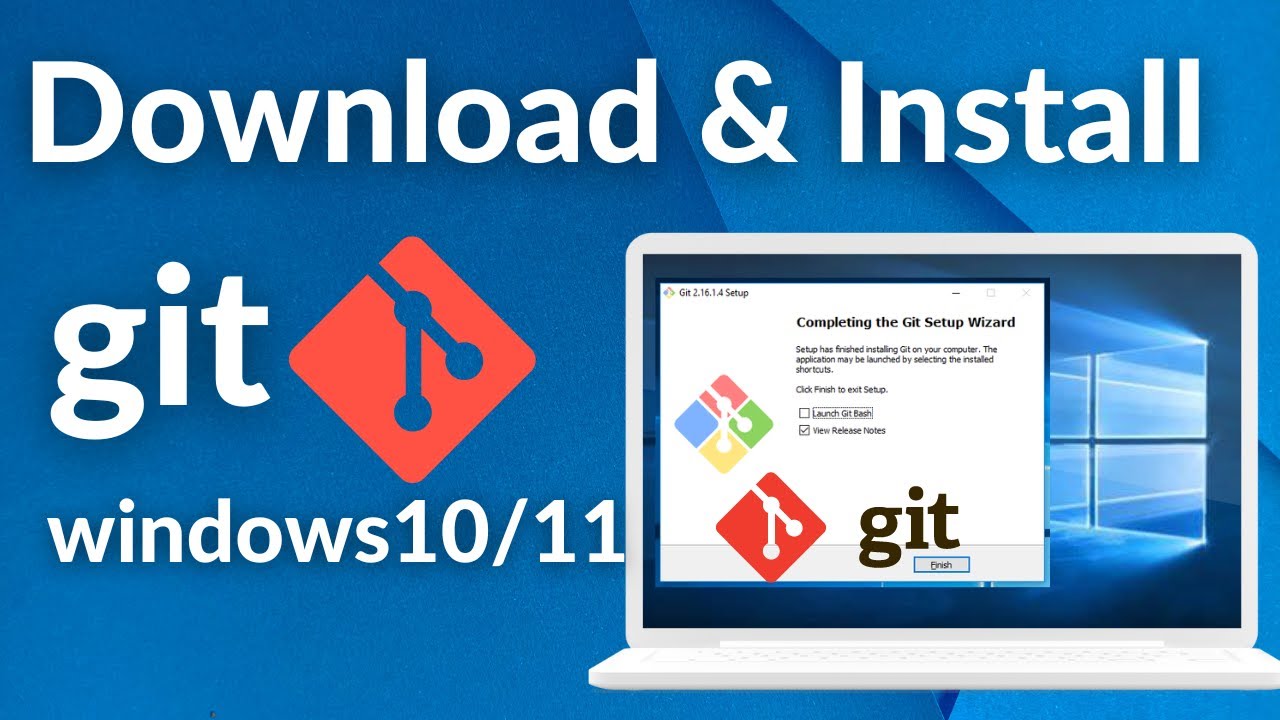
Git is a tool that helps track changes in your files, making it useful for coding and project management. Follow this easy guide to install Git on your computer.
Step 1: Download Git
Open your web browser (Chrome, Firefox, Edge, etc.).
Go to the official Git website: https://git-scm.com/
Click on the Download button.
The website will detect your operating system (Windows, macOS, or Linux) and show the correct version to download.
Step 2: Install Git (Windows)
Open the downloaded .exe file.
A setup window will appear. Click Next.
Keep clicking Next to accept default settings unless you want to customize them.
Click Install and wait for the installation to finish.
Click Finish when done.
Step 3: Install Git (MacOS)
Open the downloaded .dmg file.
Follow the on-screen instructions to install Git.
After installation, open Terminal and type:
git --version
If Git is installed, it will show the version number.
Step 4: Install Git (Linux)
For Ubuntu/Debian:
sudo apt update
sudo apt install git
For Fedora:
sudo dnf install git
For Arch Linux:
sudo pacman -S git
To check if Git is installed, type:
git --version
Step 5: Set Up Git
Open Command Prompt (Windows) or Terminal (Mac/Linux).
Set your name:
git config --global user.name "Your Name"
3. Set your email:
git config --global user.email "your-email@example.com"
4. Verify your settings:
git config --list
Step 6: Verify Installation
To make sure Git is installed correctly, open the Command Prompt or Terminal and type:
git --version
You should see a message like:
git version 2.xx.x
You have successfully installed Git! Now, you can start using it for version control and managing your projects. Happy coding! 🎉


